Photography
 |
Liege - Bastogne - Liege
86th Liege-Bastogne-Liege - CDM
Belgium, April 16, 2000
Photography
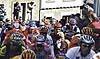
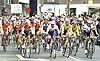
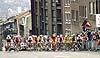
 The riders at Houffalize Photo: © AFP Photo |
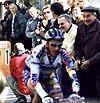
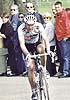
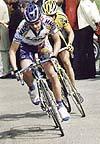
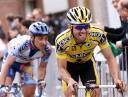 David Etxebarria at the front Photo: © AFP Photo |
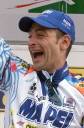 Winner: Paolo Bettini Photo: © AFP Photo |
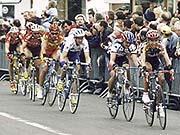
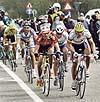
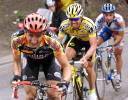 Davide Rebellin leads the break Photo: © AFP Photo |
Cote
de Wanneranval : Grischa Niermann |
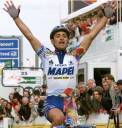 Paolo Bettini wins the race Photo: © AFP Photo |
|
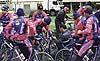
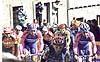
The Lampre
team ready |
Rival team riders from Mapei |
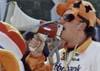
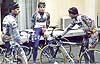
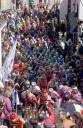
Dutch fan
on the |
|
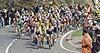
Côte Saint-Roch: a group of riders escaping after the descent Photo: © Roger Thomas |
Andrea
Tafi shows |
Côte Saint-Roch:
a group of riders chasing at the front |
Final climb: leaders leave the disorganised bunch |
Andreas
Klier chasing at the |
The
bunch takes it |
|
Mapei's
Nocentini, Tani |
The final
climb with riders attempting to attack |
Final
climb: exhausted riders still trying to close the gap |
|
|
Between
the Lorce and La Redoute (lead group) |
|