
Bike WashingLevel of difficulty: NoviceUseful Tools and Supplies [1]
|
|
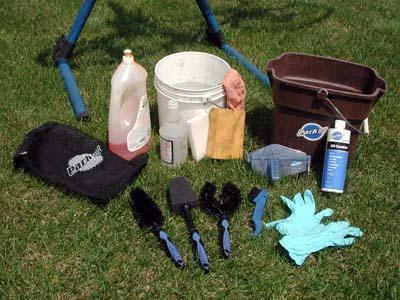
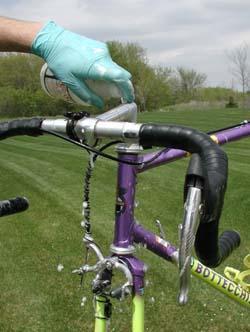
Cleaning the bicycle makes it look great, last longer, and improves performance, as well as making it simpler more pleasant to have around. Washing a bike is a messy job, so begin by changing to clothes that fit the job, and putting on a workshop apron. Next, find a work area that is appropriate. Gather together all the materials for cleaning. See list above. Fill the buckets with warm or hot water. Just like when washing dishes, warm water cleans better. Use a biodegradable dishwashing liquid or similar soap, and mix it in one of the buckets. |
|
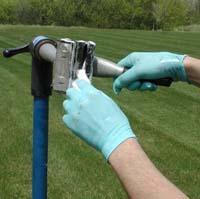
Wash inside the jaws holding the bike. Also wash area you will be clamping. The jaws will not scratch, but if there is dirt between the jaw and the paint, it may mar the finish. |
|
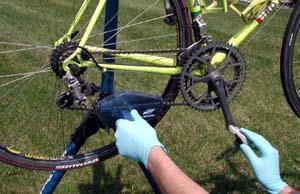
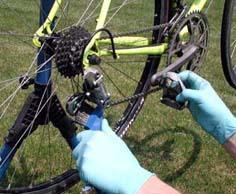
It is best to begin by cleaning the dirtiest items first, which is typically the chain and drive train. Use a chain cleaner such as the Park Tool CM-5 Cyclone Chain Scrubber. Alternatively, to be certain of getting the chain thoroughly clean, remove it from the bike and clean it by immersing it in solvent and agitating it. Dry the chain thoroughly before replacing it on the bike after the rest of the bike is cleaned. |
|
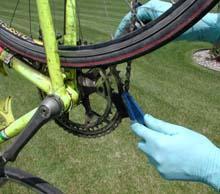
Use a stiff-bristled brush to clean the derailleur pulley wheel, derailleur cage, and chainrings. Use solvent, but take care not to drip solvent into hub or bottom bracket bearings. Rotate the bike to make cleaning the chainrings easier. |
|
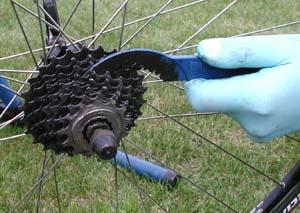
If the wheels and rear gears are especially dirty, it is best to pull them from the bike. Scrape out packed-in grass, dirt, and grime from between the gears with the GSC-1. |
|
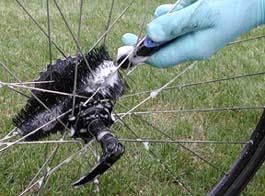
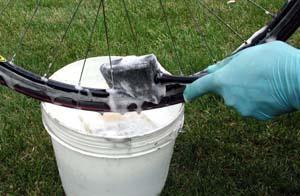
While the wheel is out, use the pointed brush to clean the hub between the flanges and outside flanges. Next, use the sponge brush to get between spoke nipples of the rim. |
|
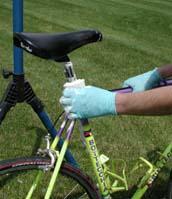
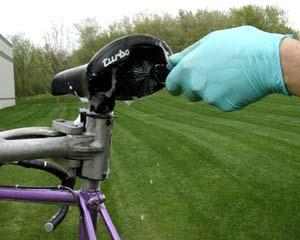
Use the tapered detail brush to clean hard to reach places such as behind the bottom bracket, derailleur and even under the saddle. |
|
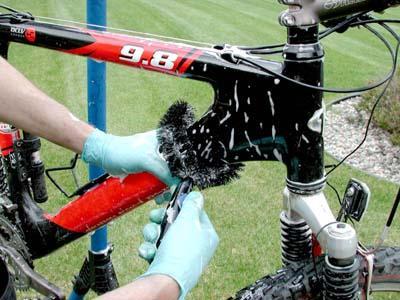
Use the tire and frame tube cleaning brush for large tubes and tires. |
|
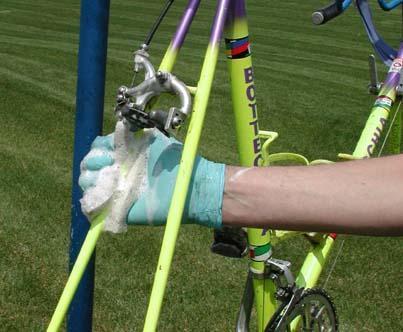
Use a sponge to clean tubes and other open surfaces. Rinse the sponge frequently in the warm, soapy water to keep a flow of clean suds going over the bike. |
|
After the frame is washed with soap, it may be rinsed. If you are using a hose, use only low pressure. Let the water drip down from above. It's tempting to take the bike down to the local car wash and pressure-wash the heck out of it. This temptation should be resisted. The high pressure water in these places can easily penetrate the bearings of your bike, leading to expensive repairs not far down the track. While you have the in the stand, take the opportunity to inspect for mechanical problems and impending component failures. A regular all-over inspection is important to prevent safety problems from becoming dangerous, and a clean bike is much easier to check over than a grubby one. The sorts of things you should look out for include:
|
|
|
After cleaning and rinsing the bike, allow it to dry. Use compressed air if available, but take care not to blast bearings directly. Use a light lubricant on the chain, pulley wheels, cables, and pivots points. After the bike is washed, take the time to rinse off the brushes and store them properly. Content for this page courtesy Park Tool. For more on Park's range of tools and workshop supplies, see: Park Tool 's website. [1] Suggested Park Tools |


